From Trackpedia
Track Map
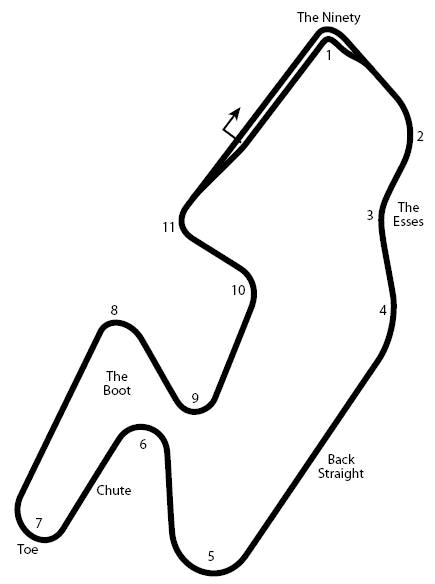
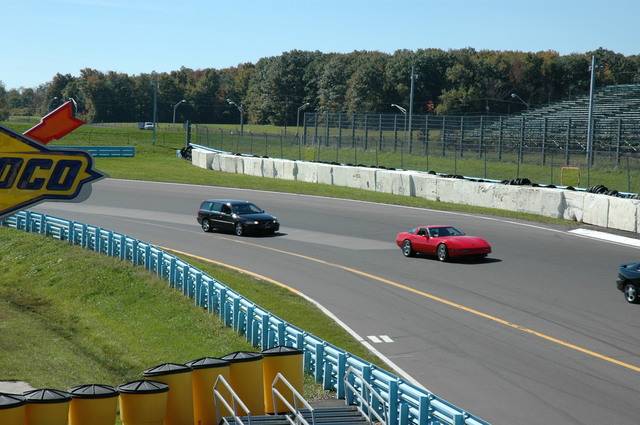
Turn 1
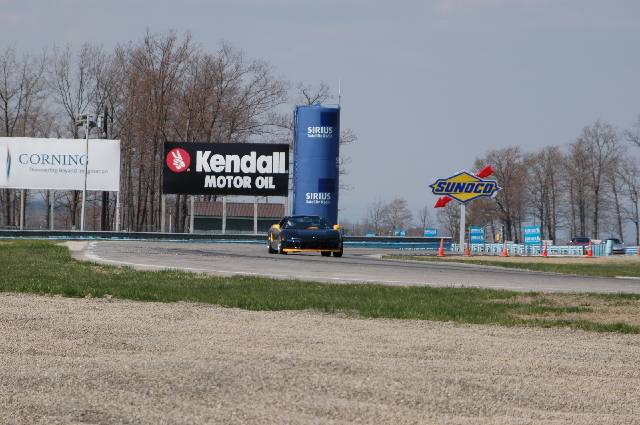
Fast 90 deg, especially since they paved the run-off area. You can carry a lot of speed from the front straight onto the backstraight if you hit it right here. However, you do need to turn-in late for a later apex and faster acceleration. Slow down (possibly downshift to third) and turn-in rather decisivelly while trailbraking or just as you eased off of the brake completly. As the car "takes a set" and the track "comes back to you", put the power to neutrilize weight transitions and pitch the car. As you are about to reach the APEX, start feeding the power in.
Dissenting opinion T1 is not as fast as you think, it is very important to nail the apex and feed in the power as this leads to fastest segment of the track. Too slow and you'll blow your lap time, too fast and you'll track out to the top of and maybe over the top the white curbing on the left.
Common mistakes: Too late braking, too fast an entry (along with an early apex and slow turn-in motion).
Turn 2
Don't lift. Carry that speed up thru the esses. Keep your right wheels as close to the red and white curbing. When the red and white curbing ends you transition your car across the track to nail the apex at T3 tight. Short-shift before T2 as-required.
Turn 3
Stick the inside of the corner smoothly.
Turn 4
Keep your foot down and a smooth transition onto the straightaway. Look ahead and judge your braking zone depending upon your speed. Make sure you have your car all the way to the left side of the back straight and you'll have numbered markers 500, 400, 300, 200, 100. Because you'll be really up to speed hard braking is required, when you come off the brakes you need to settle the car before for a moment before getting on the throttle for the fast Bus Stop inner loop.
Turn 5A
The Inner Loop or "Bustop". (Added in 1992 after J.D. McDuffie's tragic accident in the Outer Loop. T5.) Not a true chicane, but you can kiss the curbs as you go through, then lift slightly as you approach T5. Not shown in map above. If you overcook coming in, go straight and stop on the old straight part of the track, Fire Truck driver on opposite side will signal you clear.
Turn 5
"Carousel" Slowly onto the throttle and very late apex around this long sweeper. You will carry more speed into T6. Get on the throttle by or before the apex to carry as much speed into T6. Medium to hard braking depending your speed before you start your turn in for T6
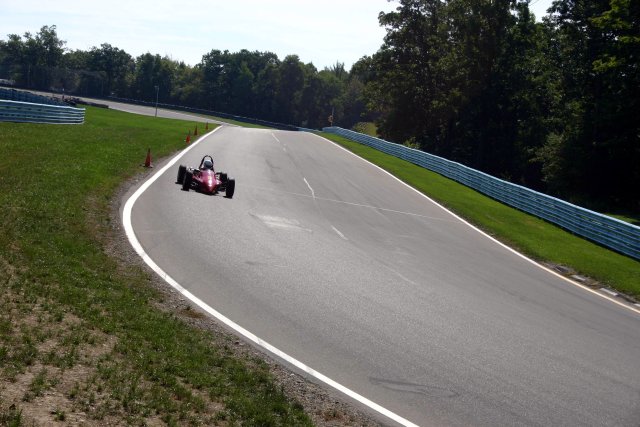
Turn 6
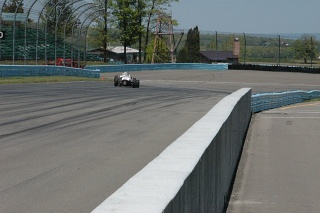
Downhill left. Late Apex. You can carry enough speed to pass on the way into the next turn. Do not over cook this turn as your momentum will carry your car broadside into the tire wall. Picture below looks back through T6 with a view of the entry to T5.
Turn 7
Toe of the boot. You'll feel like you never have enough motor coming out of the turn going up the hill. This is the lowest elevation on the track.
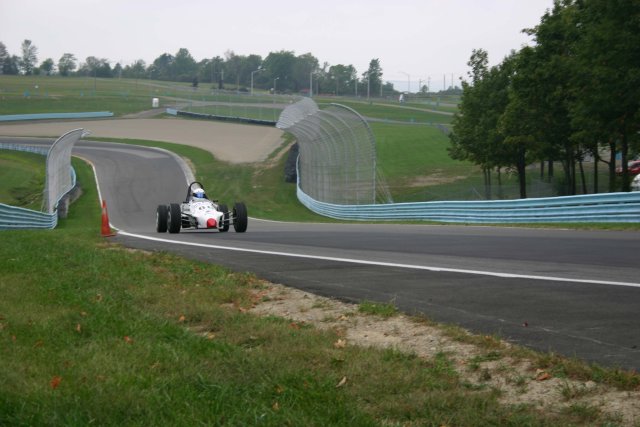
Turn 8
Heel of the boot. Flick through this turn in a 4-wheel drift and you are golden getting up the hill to 9. Picture below is downhill from T9 looking at exit of T8.
Turn 9
Off Camber back onto the Nascar straight. Late apex and quite a quick turn.
Dissenting opinion - the turn in is a bit earlier than you think. You should be well on the throttle by the apex cone. The short straight is a passing for about one car. T9 is a hard corner to master.
Turn 10
You'll want to go cautiously until you get comfortable with it, but you can take this turn very quickly.
Dissenting opinion This is a fast corner, if you have the HP and the suspension you can apex without any braking. Most cars will "brush" the brakes to settle the car. Too fast thru 10 and you'll track out onto the turtles which is not where you want to be. Use all the track to set up for 11 which leads to the front straight. Faster drivers will not brake, simply lift.
Turn 11
Last corner before the front straight. Apex it right and stand on it. Be sure to track out fully.
External links