From Trackpedia
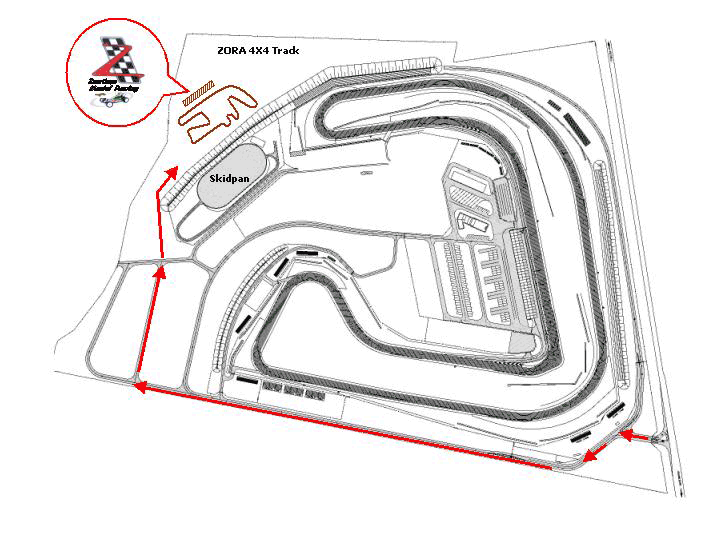
Track Map

ZWARTKOPS
Characters in red indicate our cars speed in mph at various points on the track in our Porshe 2.7 "Baby" RSR.
B – Speed at the braking area or E – Entry speed (if no brakes are applied at corner) M – Mid corner speed S – Slowest speed in the corner (may or may not coincide with the apex) X – Exit speed.
OVERVIEW
By walking the track you will pick up invaluable pointers. Here are some:
- There are black dotted lines pained on the white border lines painted on the entrance to turn 1 and 8. These could be used as brake or turn markers. - On the apex of all the corners you have a border in concrete (negative cambered). Stay away from these borders as they unsettle the car. - On the exit of all the corners there is a metre wide concrete border. By using this border you can increase your track width dramatically. - On the entrance of Turn 2, Turn 4, Turn 5, Turn 6, Turn 7 and Turn 8 the border is widened on the outside (turn in side) with this concrete border. By using this border on the entrance and exits of corners you gain about 2 metres worth of track width. - The borders of all corners entrances have white painted sections that could be used effectively as markers. (I have no input on how this paint affects grip in wet weather conditions. - On the exit of Turn 4 and 8 there are ‘rumble strips’ run-off areas about 1 metre wide. It is not advisable to run on them.
Turn 1
(B 88 MPH; S -82 MPH AND X 90 MPH) Fast left hand corner that dips downhill to the apex. The clipping point is generally the storm water drain. Look far ahead in this corner otherwise it will tend to rush toward you. Slide, Yes, Slide right to the exit and make sure you use the whole width of the track. Immediately start moving over to turn 2.
Turn 2
(B 98 MPH; S 44 MPH AND X 58 MPH) Is a hairpin corner dropping down sharply to the right. This is the corner to trail brake into. On exit go hard on the gas as you can generally exit faster than you think. Again make sure you use the whole width. This will lead you to turn 3.
Turn 3
(E 88 MPH; M 92 MPH AND X 100 MPH) Is a long sweeping corner. It is taken flat out by most. Only the very quick need to tread carefully. Now you are on the fastest straight of the circuit which leads into the braking zone for turn 4.
Turn 4
(B 108 MPH; S 78 MPH AND X 88 MPH) Is fast right hand corner which is slightly uphill on the exit. This corner is quite bumpy at the apex. Don't be hassled by the bumps. Make sure you carry enough speed to the apex. Now the road is uphill and but nevertheless you nearly reach the same speed as down the fast back straight. The braking area for turn 5 is slightly uphill that flows into a plateau (Called the table top).
Turn 5
(B 105 MPH; S 53 MPH AND X 67 MPH) This right hand corner has many brake markers for you to use. The Marshall post on left hand side and the stand offers good opportunities. You will now enter the 2nd slowest corner on the track (only T2 is slower). Carry a lot of momentum here as have a short straight to turn 6.
Turn 6
(B 72 MPH; S 58 MPH AND X 70 MPH) This is a slowish 115 degree right hand corner where I left foot brake. Because the corner is sharper than a 90 degree corner take a late apex. Once on the accelerator use all the road on exit. The exit of this corner is immediately followed by Turn 7 which is a quick downhill, left hand, sweep.
Turn 7
(E 70 MPH and X 88 MPH) Continually accelerate from the exit of Turn 6 to the apex of Turn 7. Because the exit is downhill you pick up a lot of speed till you reach the final corner turn 8.
Turn 8
(B 94 MPH; S 52 MPH AND X 68 MPH) This leads onto the start/finish straight. This corner is slightly faster in speed than turn 5. Be wary of loosing the car on exit as you, unintentionally, may meet the concrete wall on the inside.
Johan Vermeulen